Search for Additional Articles
FieldLink data transfer via Trimble Connect
You can access your project data inside of FieldLink via Trimble Connect as long as you using version 6.0 or higher. See the videos below for other options to access Trimble Connect on your FieldLink tablet.
Trimble Connect is available both in a browser and via a desktop application. You can log in to the browser version at https://connect.trimble.com/.
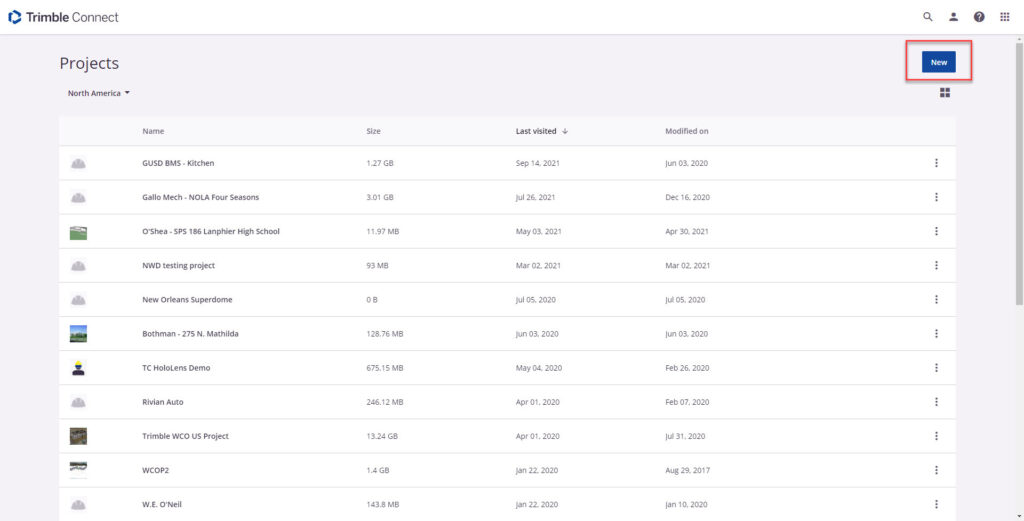
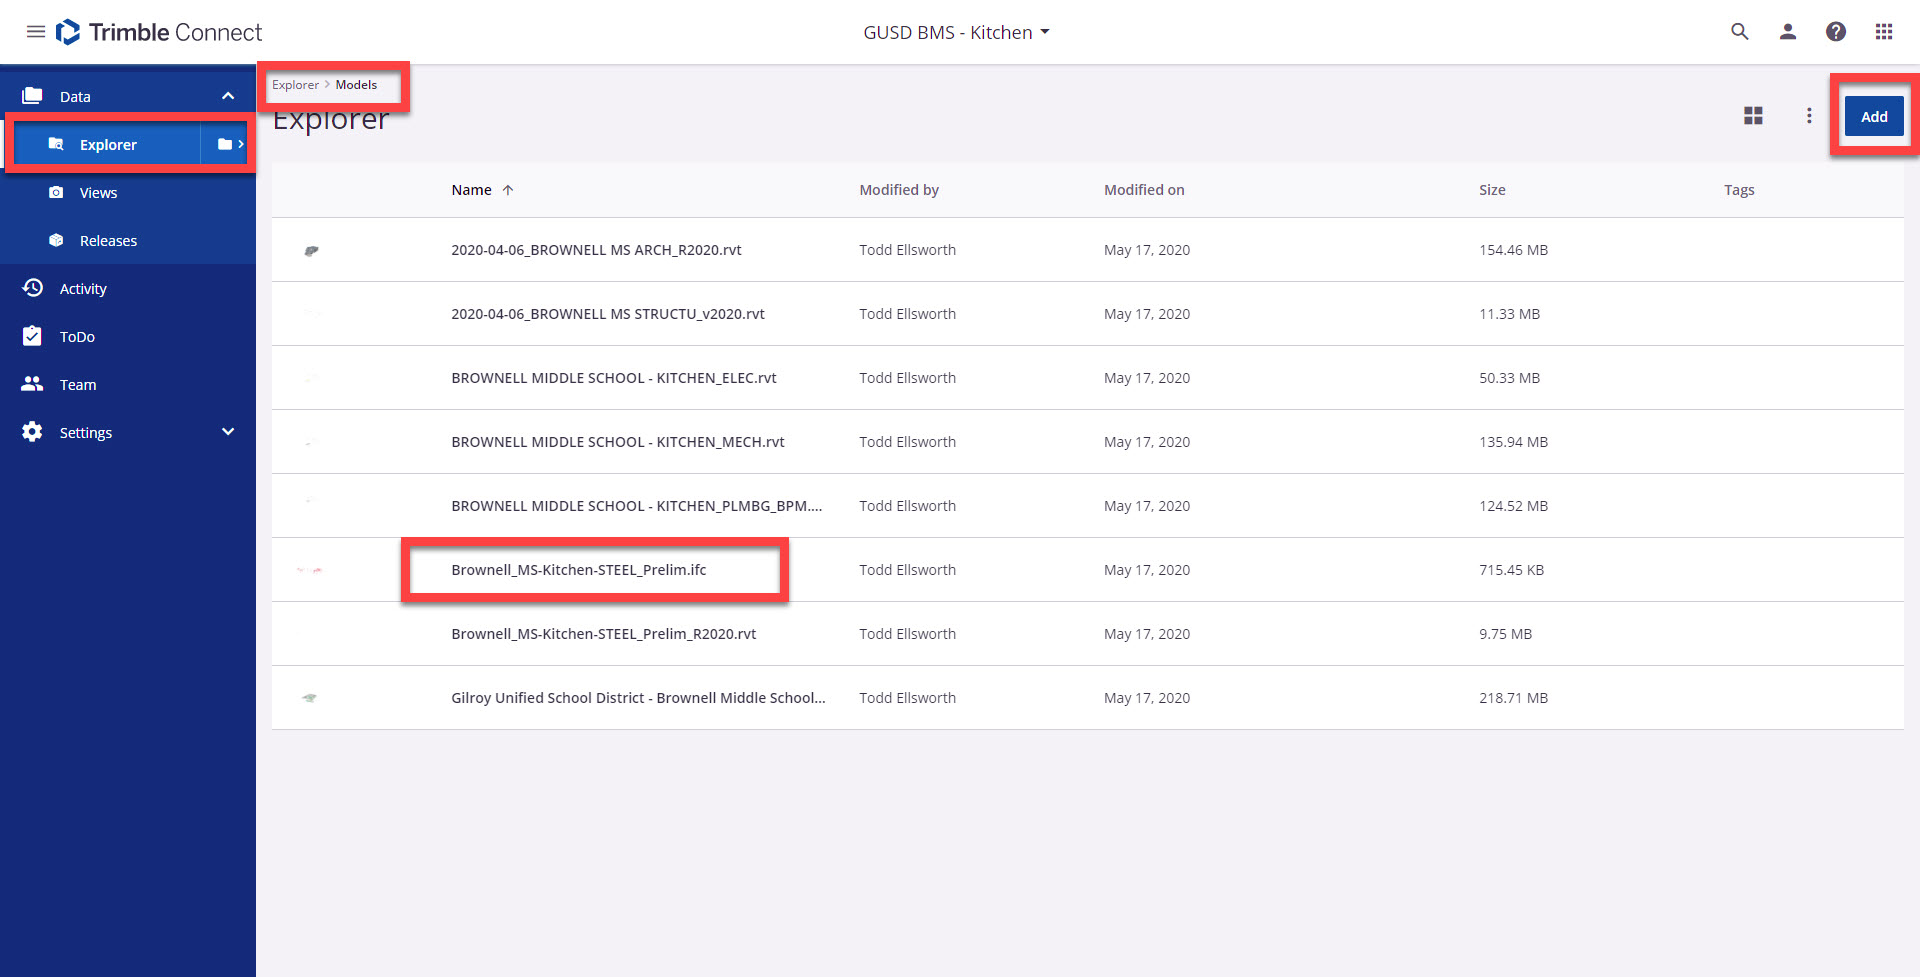
The steps below walk you through how to upload your data to a project on Trimble Connect and transfer that data to your job in FieldLink.
Trimble Connect for FieldLink Steps
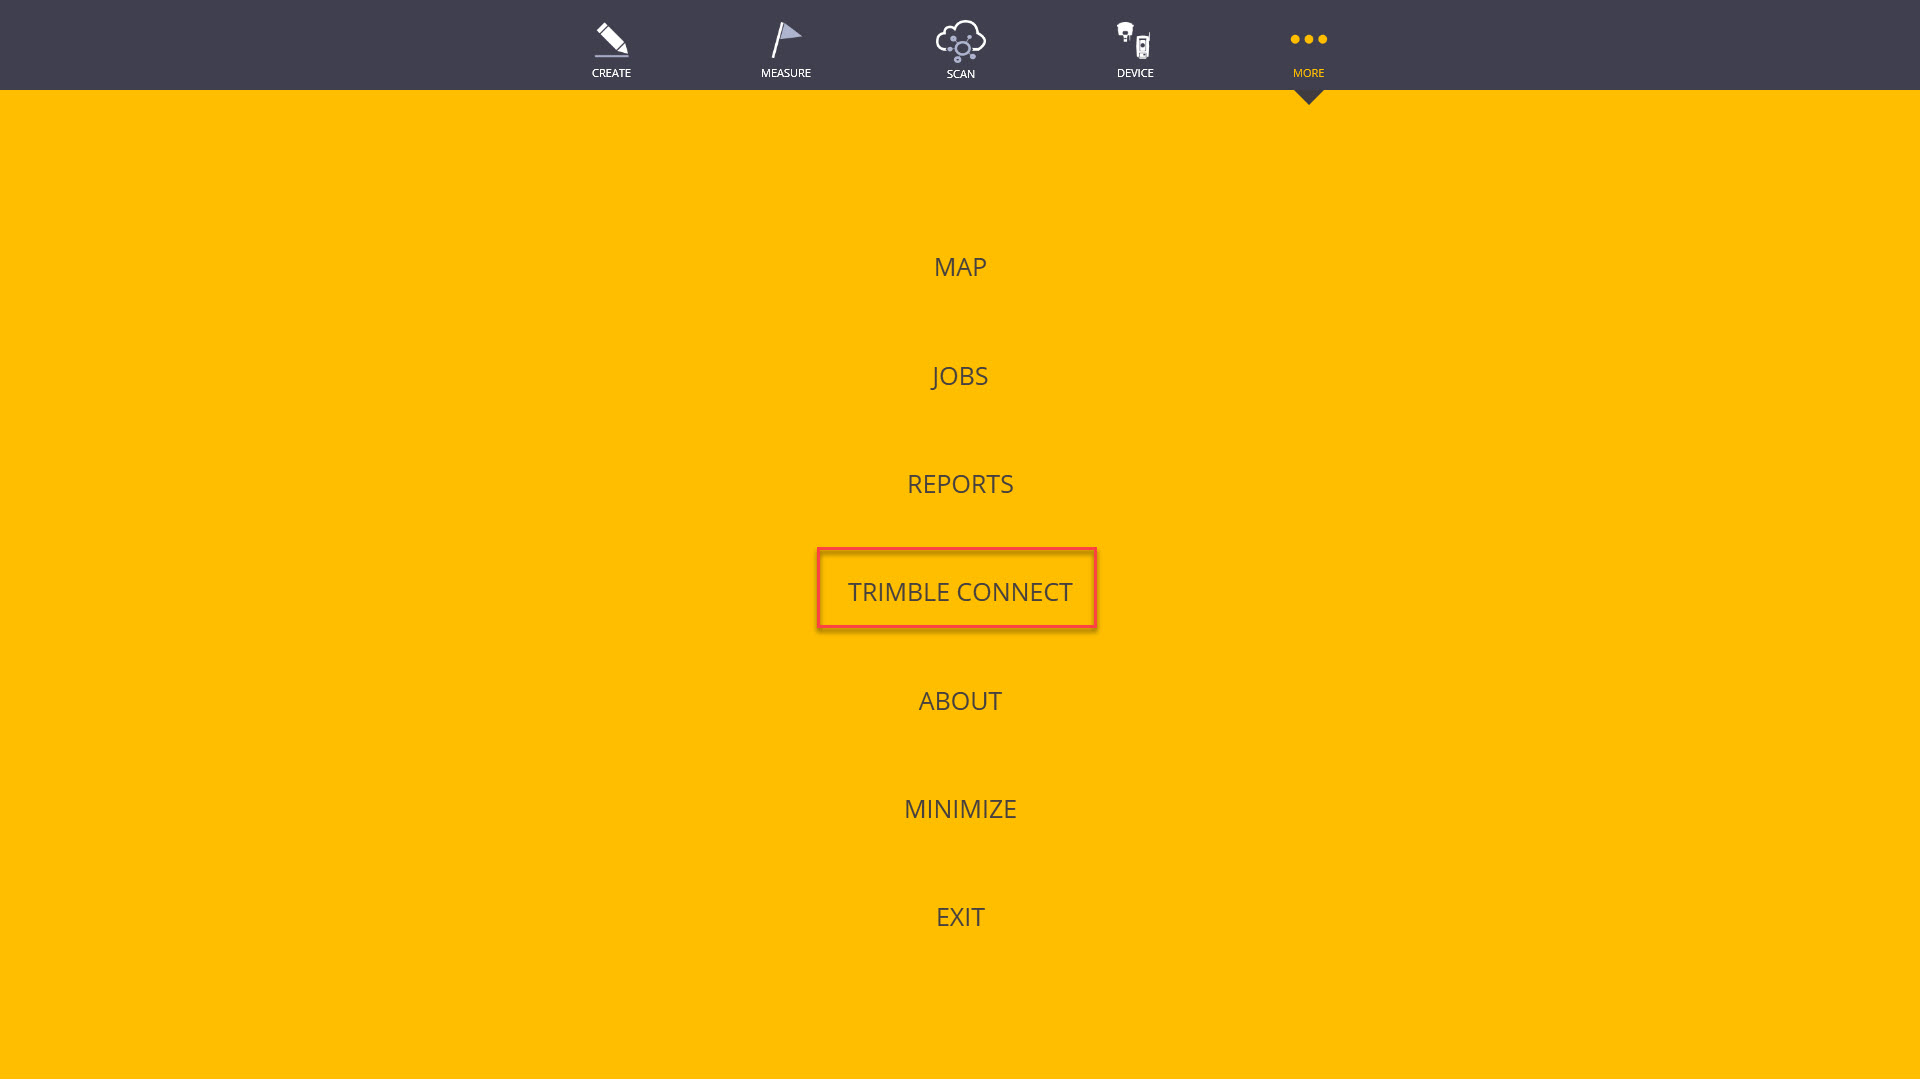
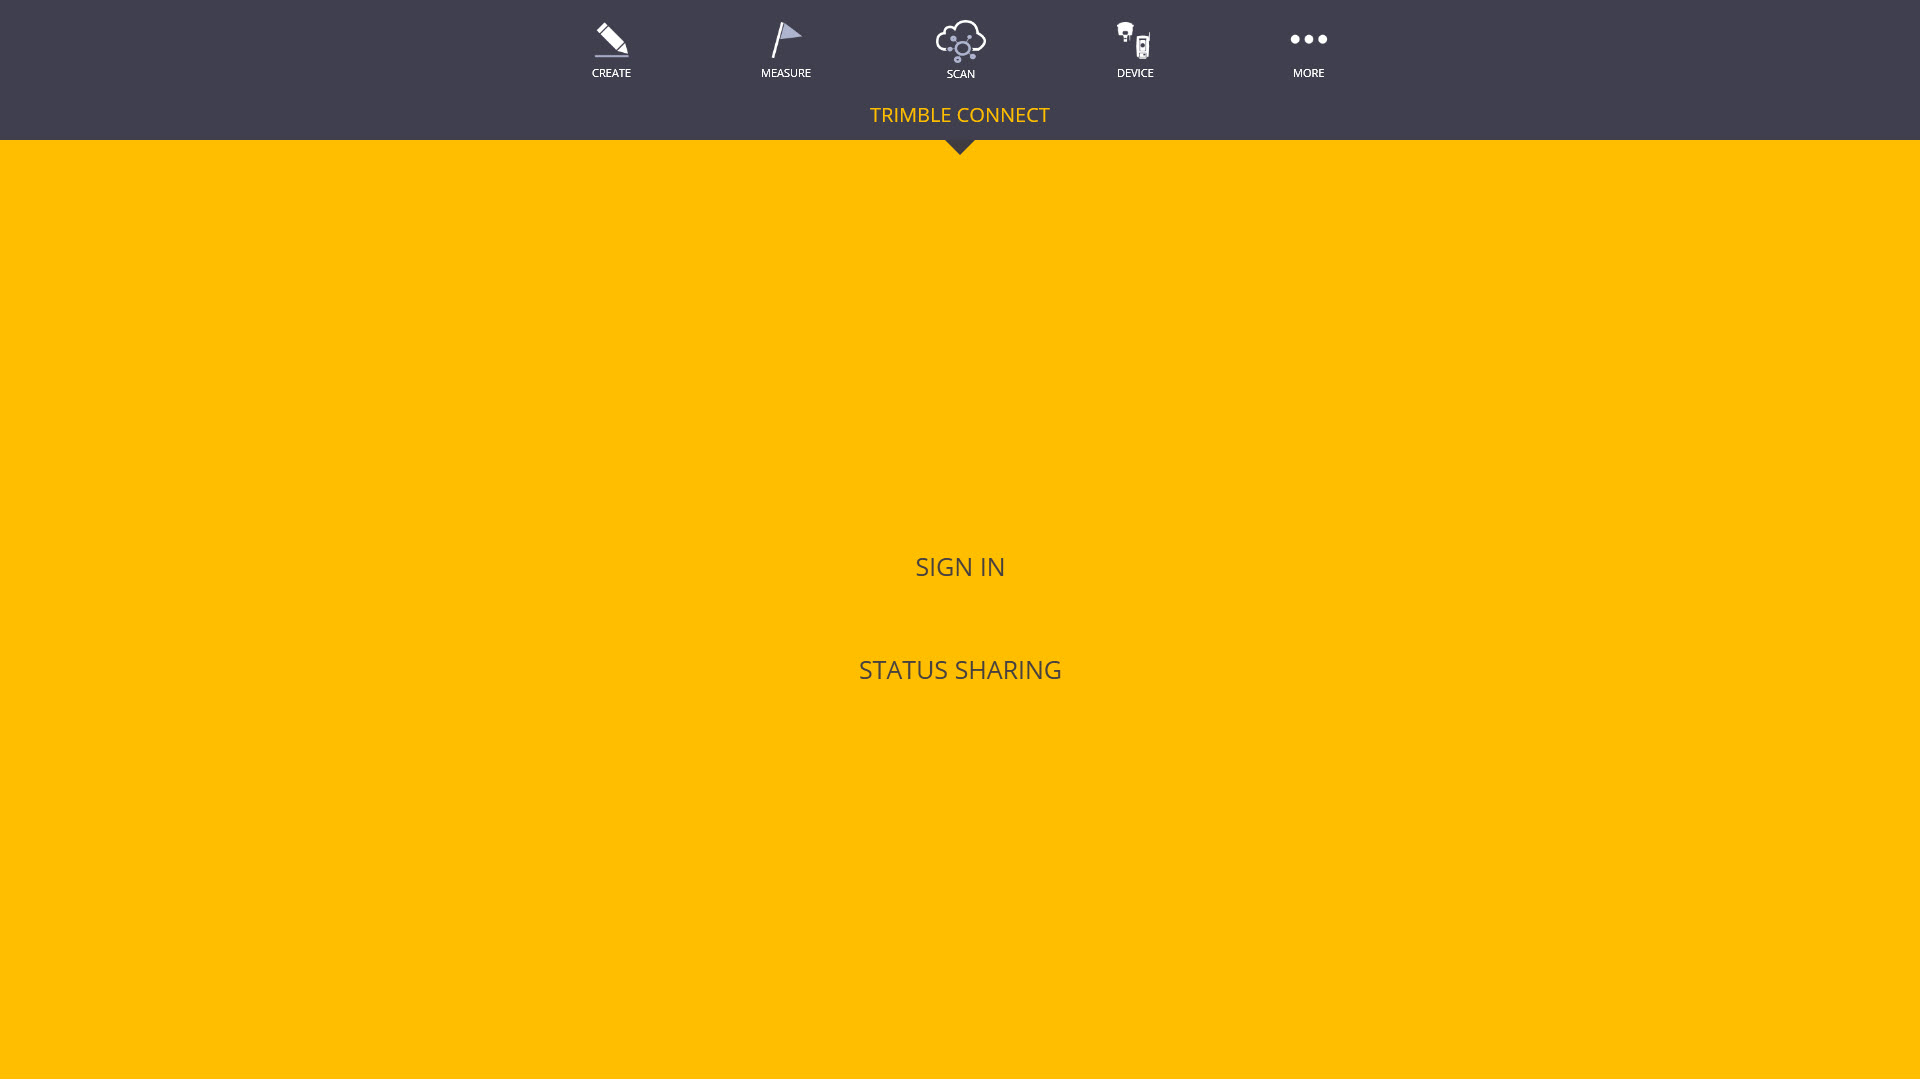
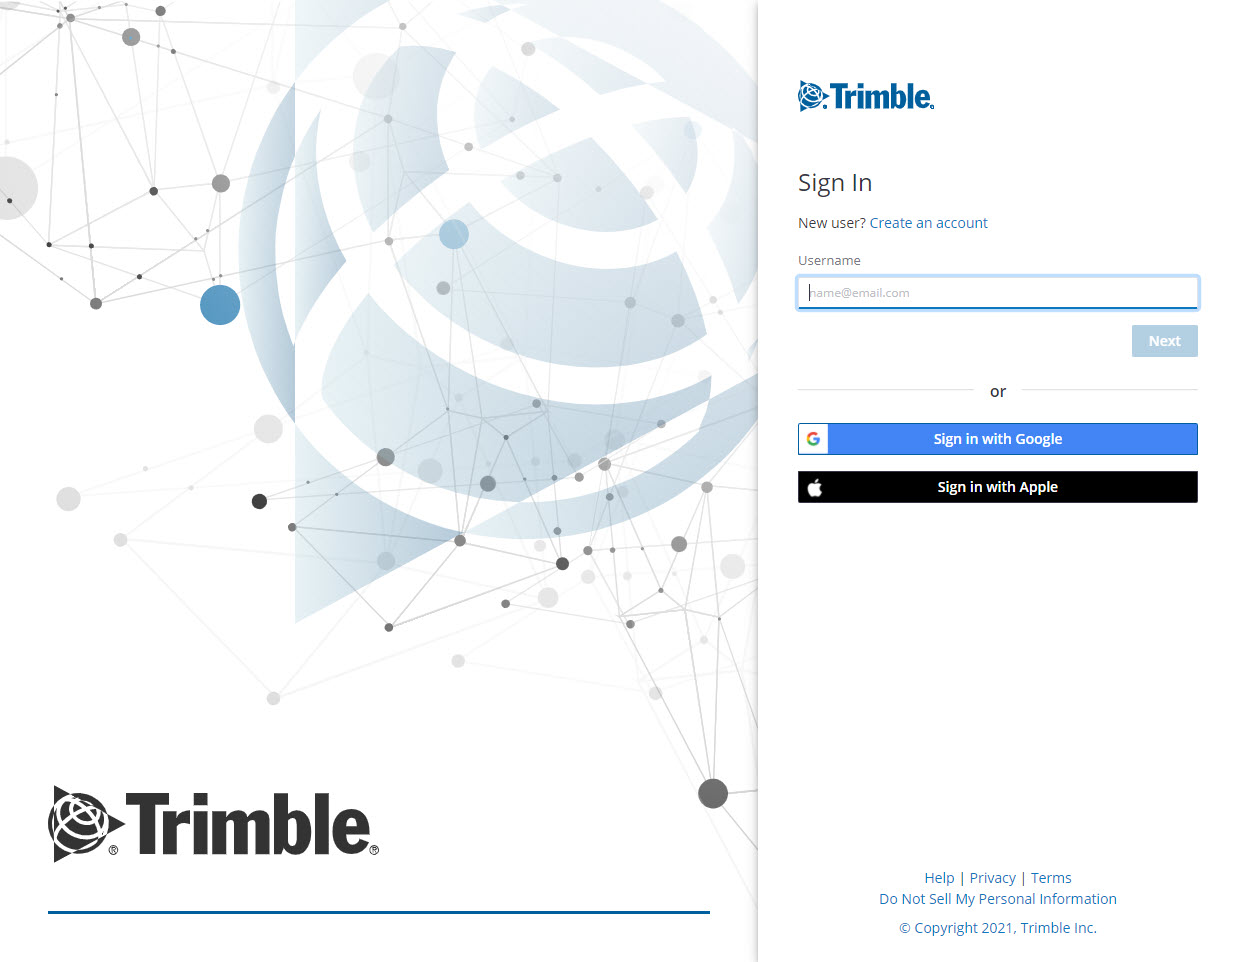
Step 3: Access Trimble Connect inside of FieldLink and sign in via your Trimble ID
Step 4: Import project data via Trimble Connect to your Job folder for FieldLink.
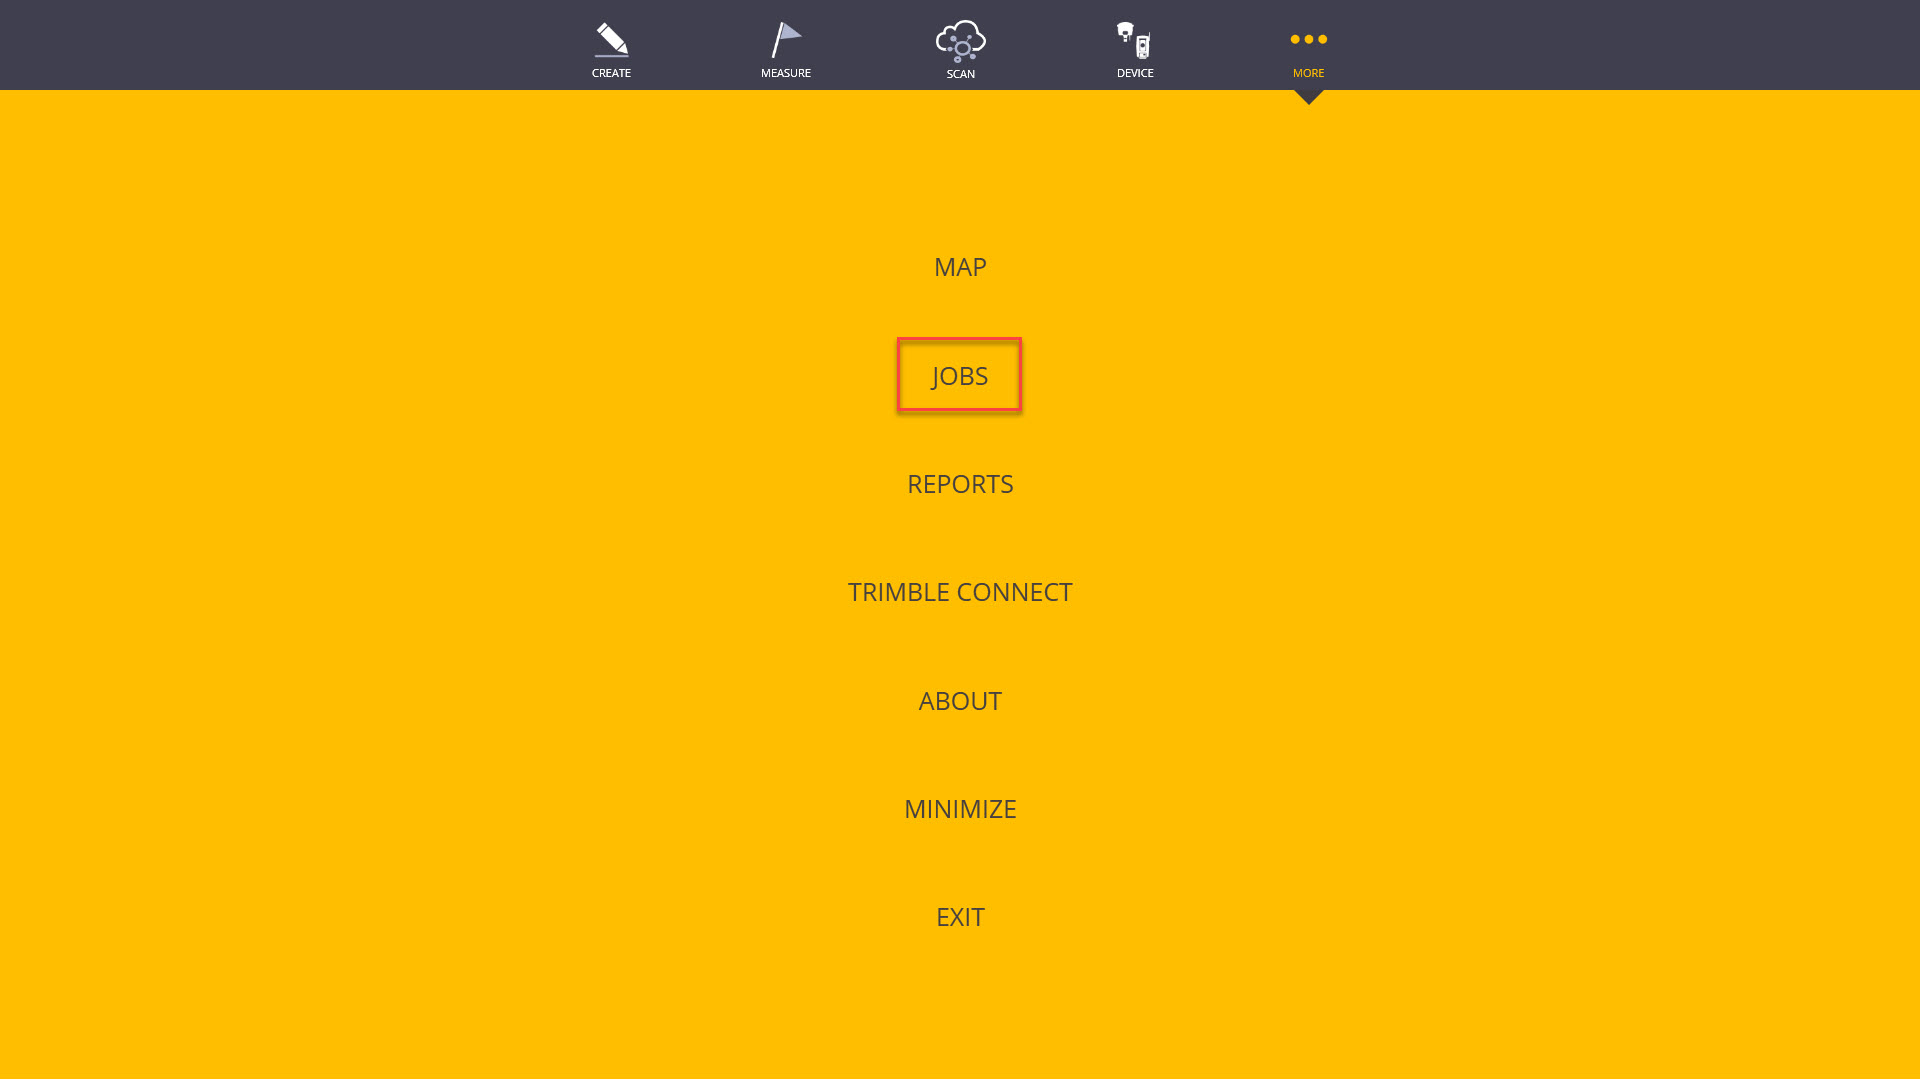
Select the Jobs Button
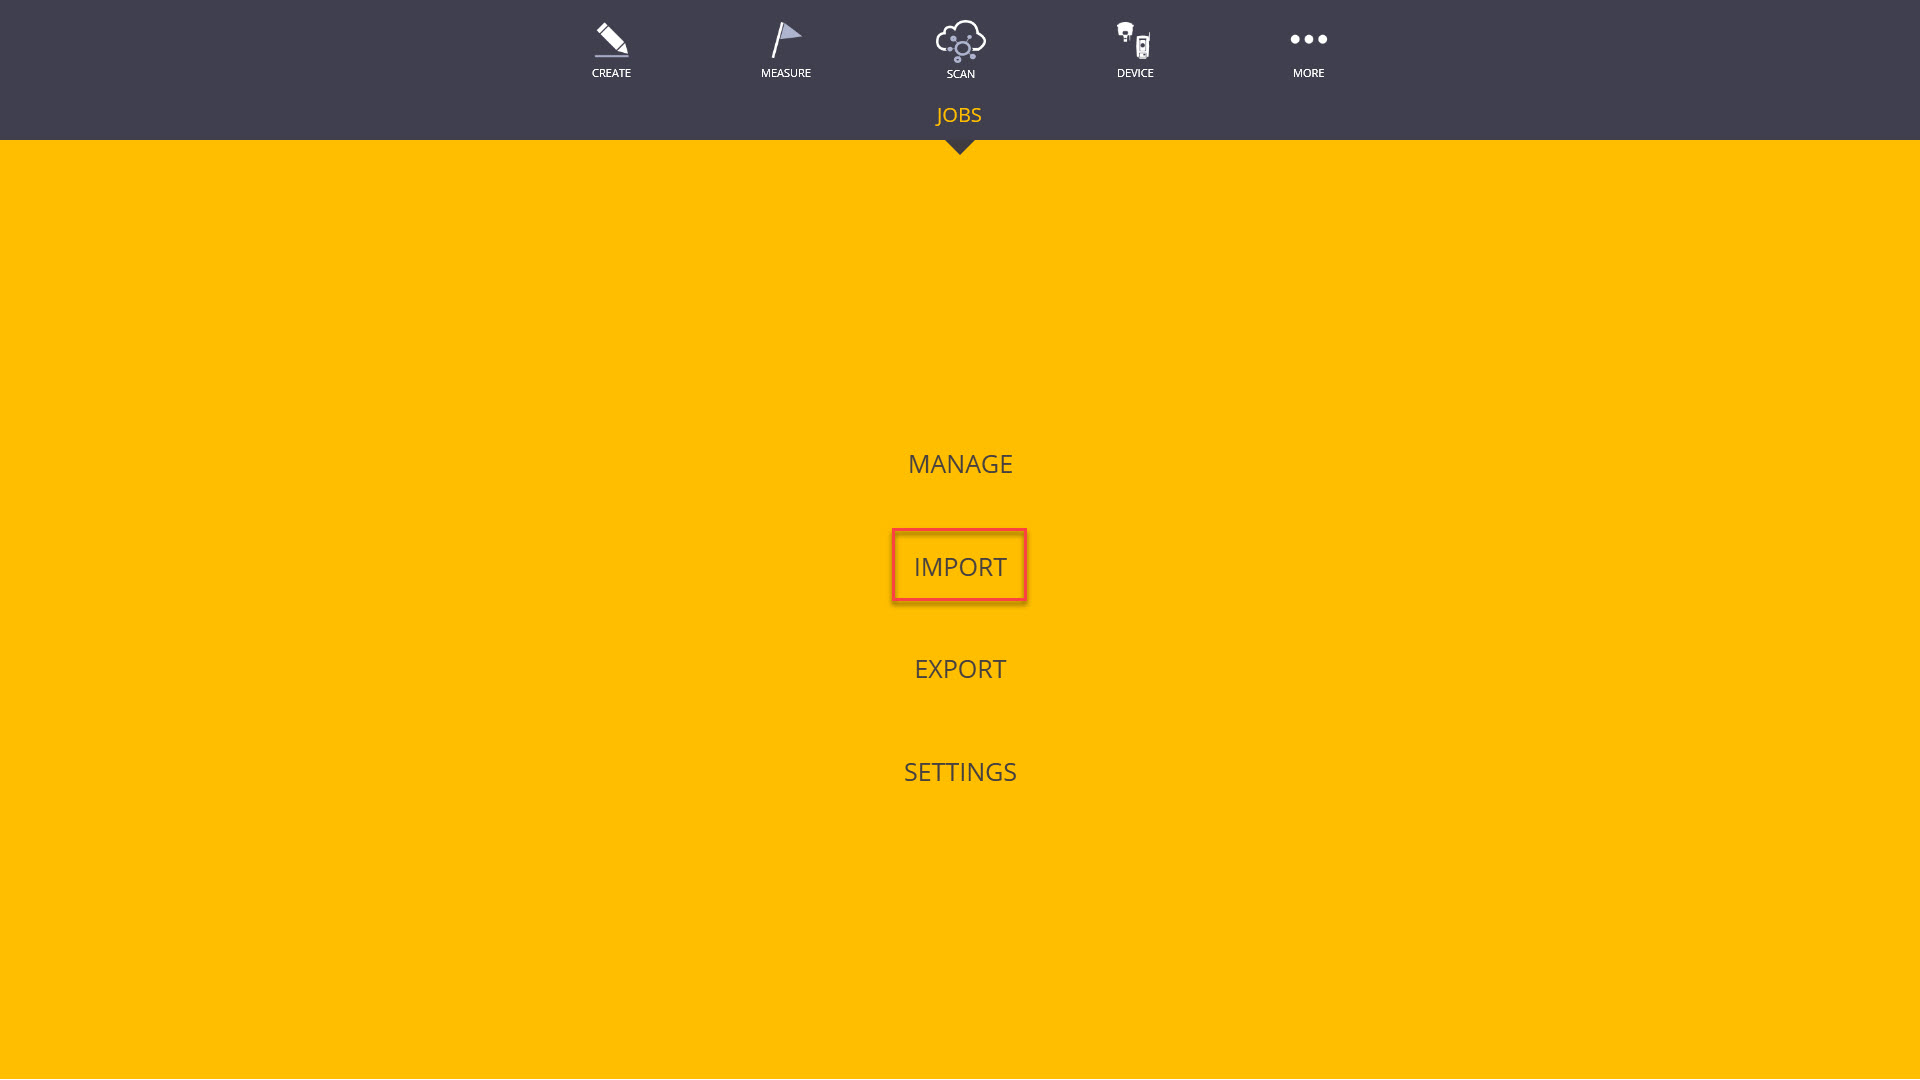
Select the Import Button to launch the data import options for FieldLink
In the import window change the import option to the Cloud selection
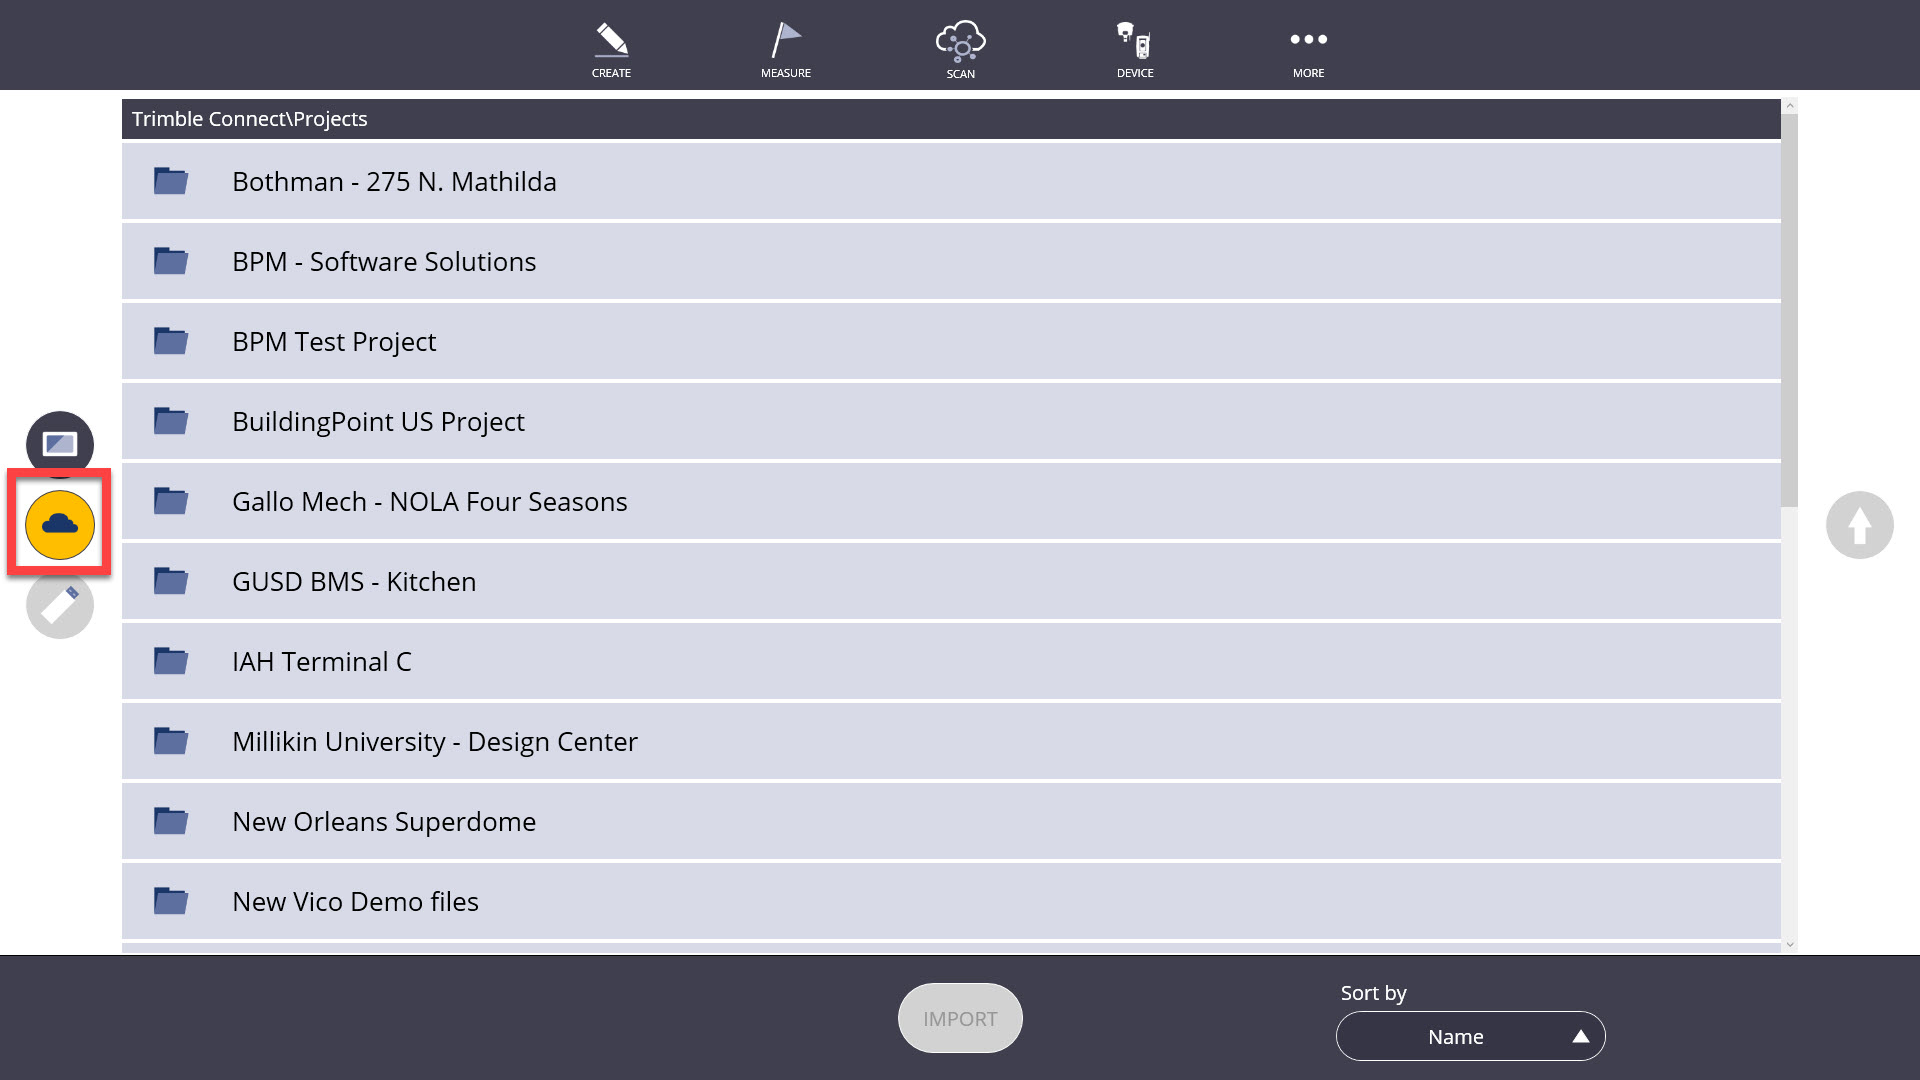
Browse for your project data files including model files (.IFC or .SKP)
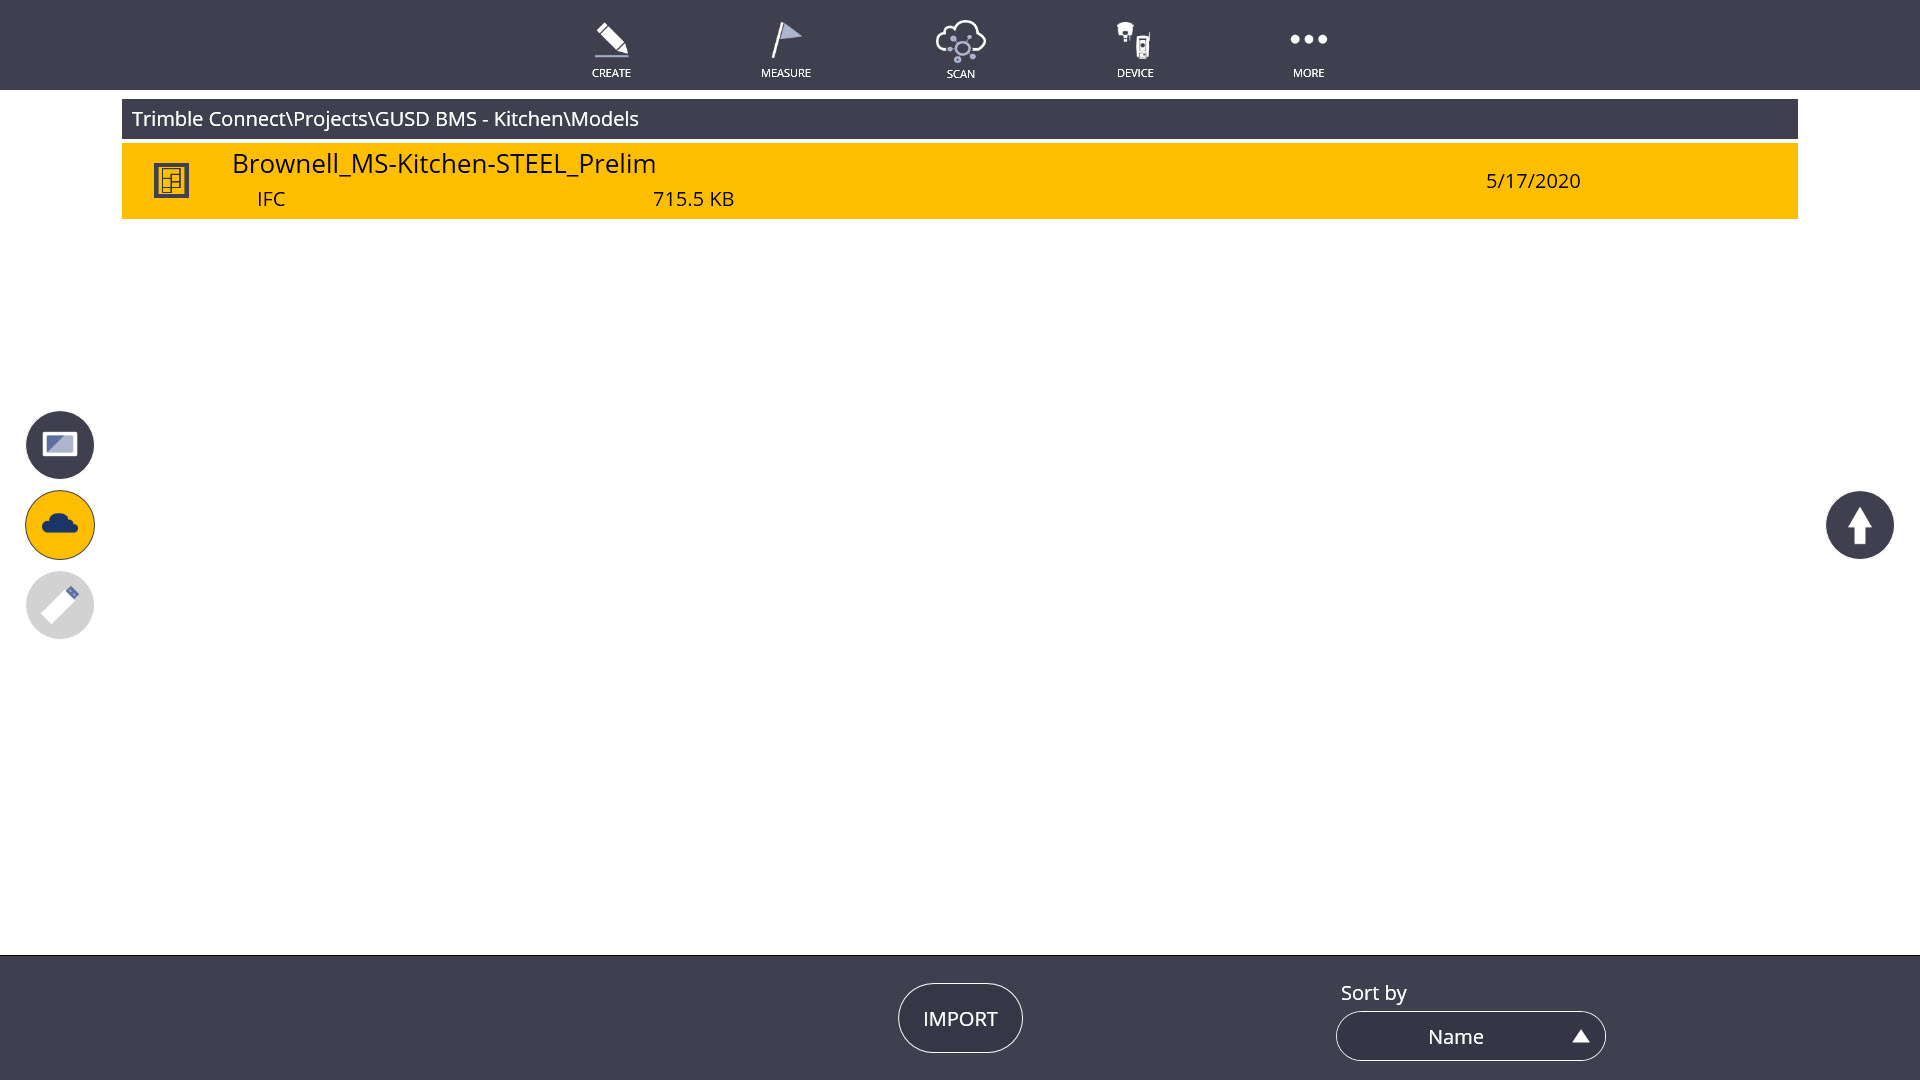
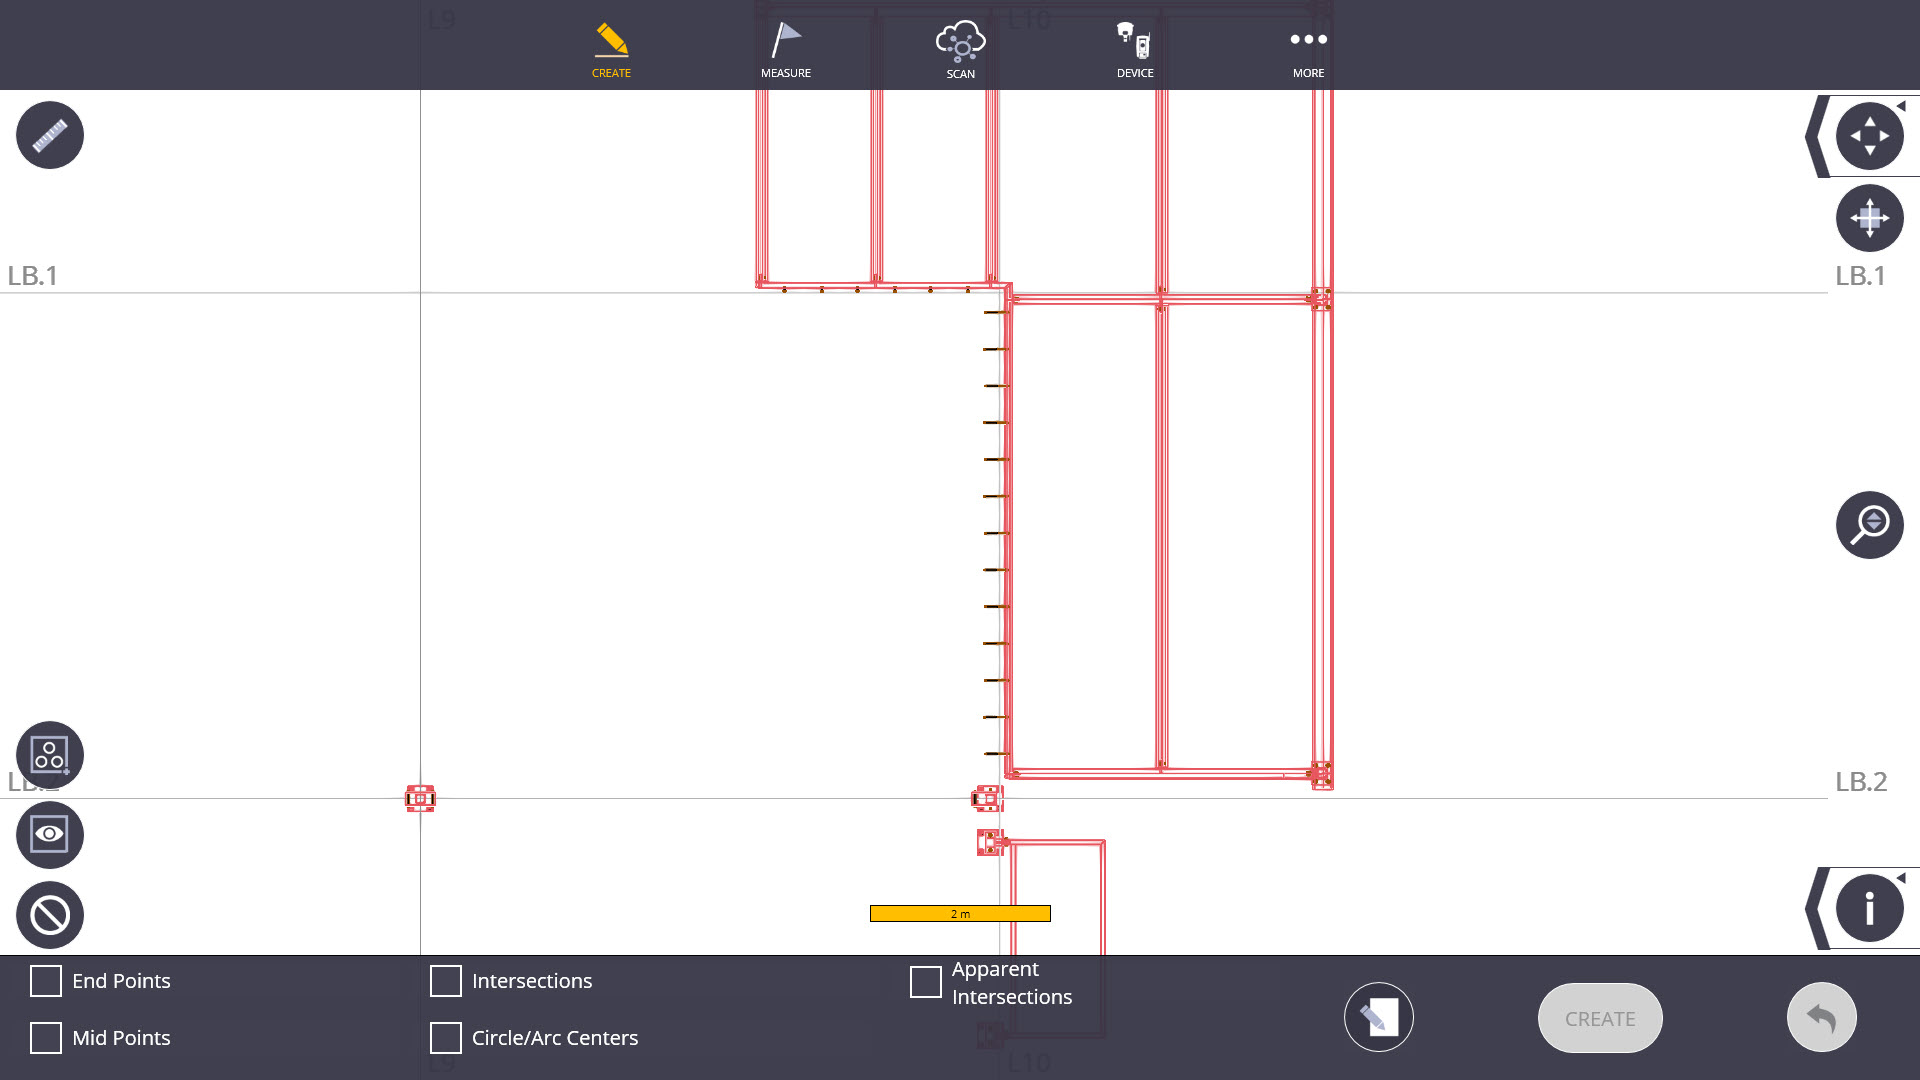
After selecting your file and importing it you will see your background file ready for use in FieldLink
